
Anglo Saxon Collection (#3)
"Exploring the Rich Legacy of Anglo-Saxon England: From Kingdoms to Artifacts" Map of England Showing the Anglo-Saxon Kingdoms and Danish Districts


For sale as Licensed Images
Choose your image, Select your licence and Download the media
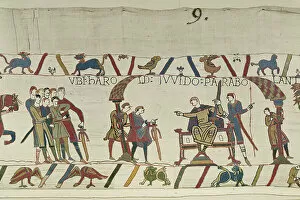
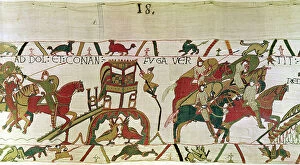
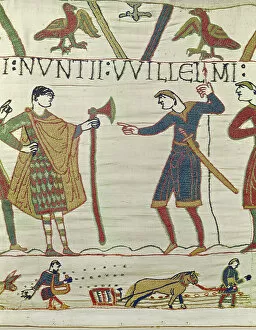
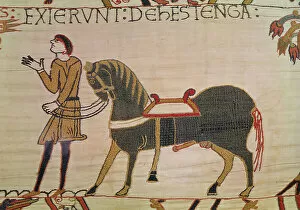
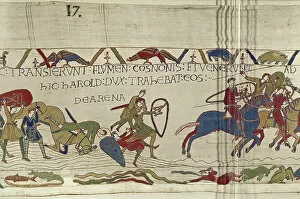
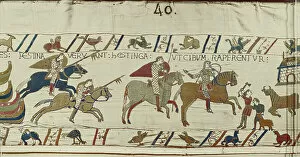
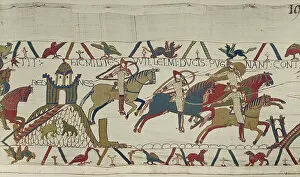
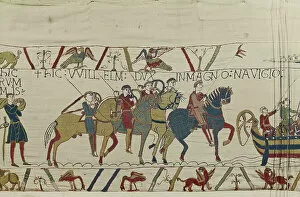
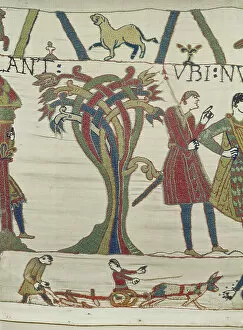
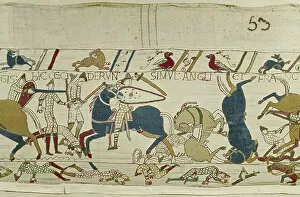
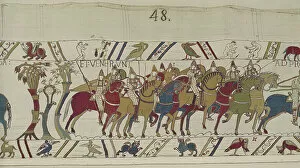
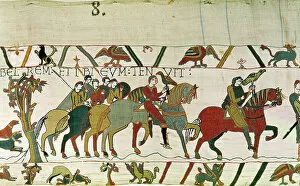
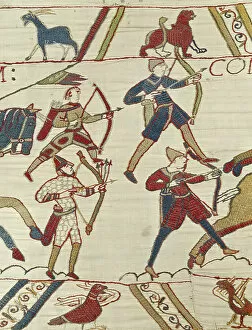
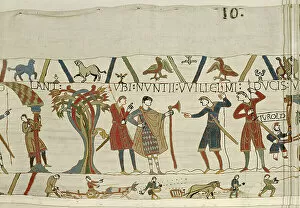
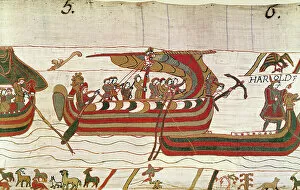
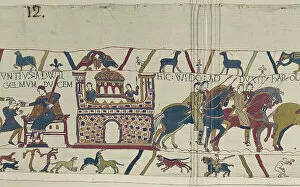
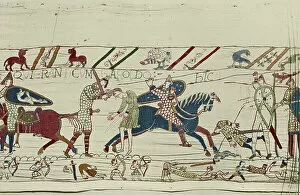
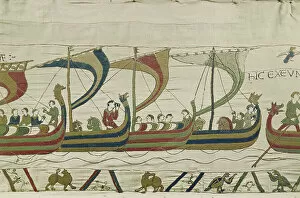
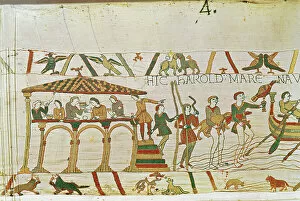
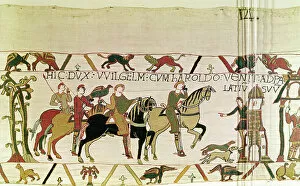
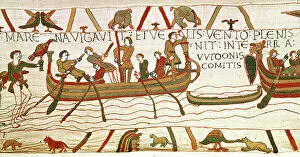
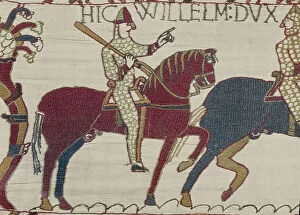
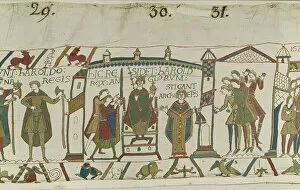
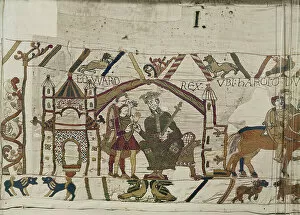
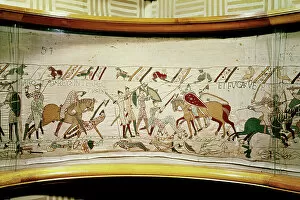
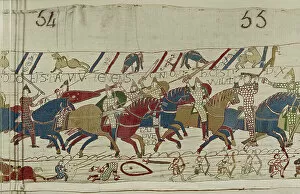
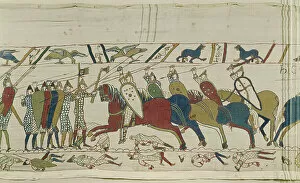
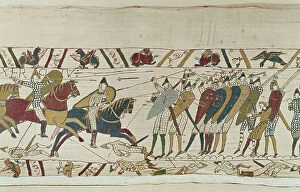
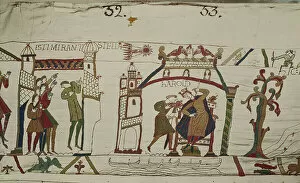
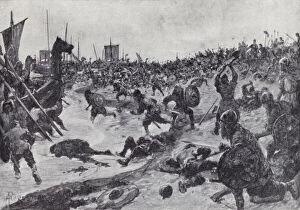
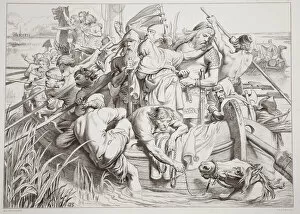
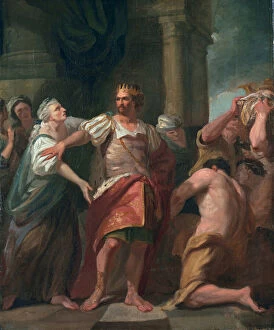
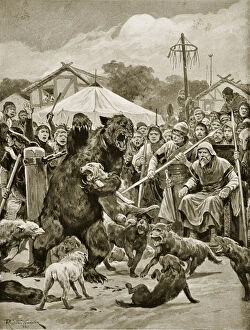
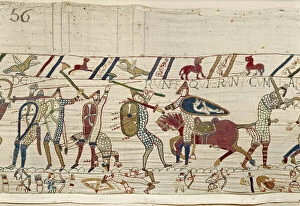
"Exploring the Rich Legacy of Anglo-Saxon England: From Kingdoms to Artifacts" Map of England Showing the Anglo-Saxon Kingdoms and Danish Districts: Delve into the intricate political landscape of early medieval England with this detailed map, showcasing the various Anglo-Saxon kingdoms and Danish districts that shaped its history. Bayeux Tapestry 1067: Battle of Hastings, 14 October 1066. The death of Harold II: Witness a pivotal moment in English history through the iconic Bayeux Tapestry, as it vividly depicts the fateful Battle of Hastings and King Harold II's tragic demise. Anglo-Saxon brooch of the Kentish type: Admire the exquisite craftsmanship and intricate design displayed in this stunning Kentish-style brooch, offering a glimpse into the artistic prowess of Anglo-Saxon metalworkers. Alcuin of York (730-804). Alcuin presents to Rabanus Maurus: Uncover intellectual exchange during this era as we witness Alcuin, an influential scholar from York, presenting his works to Rabanus Maurus—a testament to their contributions to education and learning. Pottery cremation urn from a grave at Loveden Hill, Lincolnshire, Anglo-Saxon 6th-7th century: Step back in time with this pottery cremation urn discovered at Loveden Hill—an archaeological marvel preserving ancient burial customs and providing insights into early Saxon society. Alfred being scolded for burning the cakes (colour litho): Marvel at historical anecdotes as we encounter King Alfred facing reprimand for accidentally burning cakes—a lighthearted yet endearing tale that humanizes even legendary figures like him. The Pitney Brooch: Anglo-Scandinavian second half of the 11th century.