
Bomber Command Collection (#2)
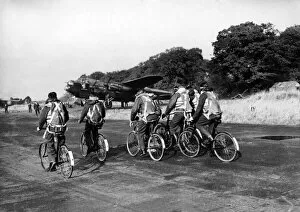
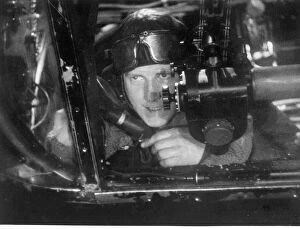
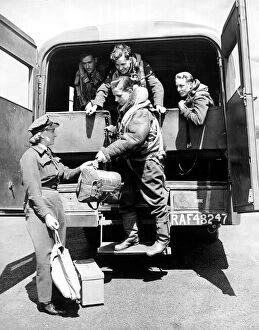
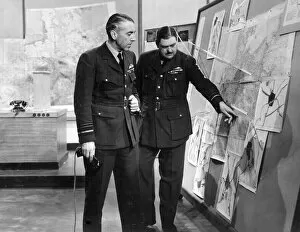
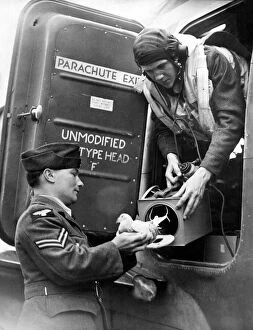
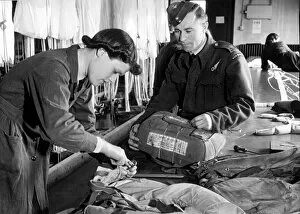
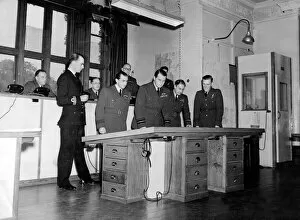
"Unleashing Destruction: The Mighty Bomber Command in World War II" Boarding a Wellington II of 104 Sqn


For sale as Licensed Images
Choose your image, Select your licence and Download the media
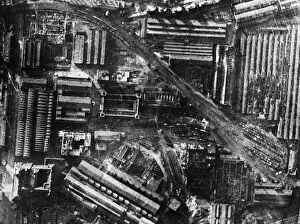
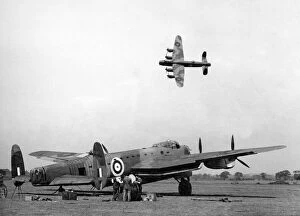
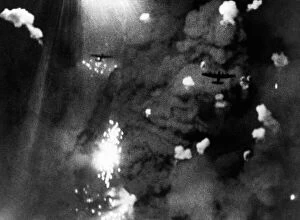
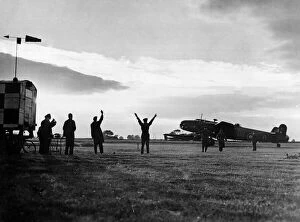
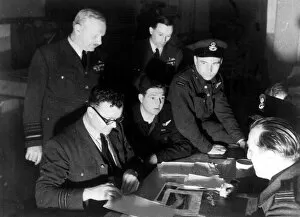
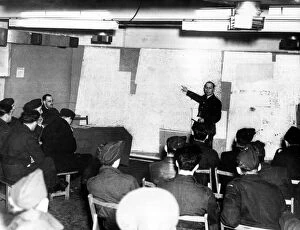
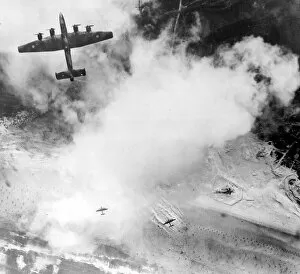
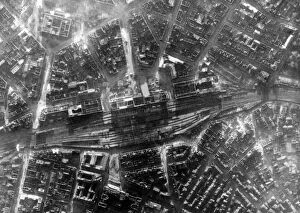
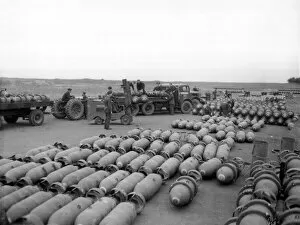
"Unleashing Destruction: The Mighty Bomber Command in World War II" Boarding a Wellington II of 104 Sqn, brave RAF bomber pilots prepare for another perilous mission in 1941. Intense concentration fills the room as Bomber Command meticulously plans a large-scale R. A. F. Operation, circa 17th November. Aerial supremacy captured through a photo-reconnaissance image taken by 541 Squadron, RAF over Stettin, Germany - an invaluable tool for strategic planning. Witness the devastating power of an 8000 lb bomb as Berlin bears witness to its destructive force - a chilling reminder of the cost of war. The heart-wrenching aftermath unfolds before our eyes with damage to central areas of Berlin after relentless R. A. F. Raids on March 24th, 1944. Through the lens of reconnaissance photographs taken by the heroic RAF squadrons, witness Duren and countless other towns completely destroyed - haunting reminders of war's devastation. British Vickers Wellington bombers take flight on daring daylight bombing raids over Germany during World War II - their courage knows no bounds (photo). Air Chief Marshal Sir Arthur Harris stands resolute as Commander in Chief of RAF's Bomber Command during World War II (photo) - his leadership guiding these courageous aviators towards victory. Behold the sheer might and ingenuity behind sinking the German battleship Tirpitz with British-made armor-piercing earthquake bombs carried by Lancaster bombers (b/w photo). Step into history and explore the tail gun turret that protected British Vickers Wellington medium bombers from enemy attacks - a testament to their unwavering determination (photo).