
Ladysmith Collection (#3)
"Ladysmith: A Historic Town in South Africa's Natal Province" Nestled in the heart of Natal Province, a town steeped in history and rich with captivating landmarks


For sale as Licensed Images
Choose your image, Select your licence and Download the media
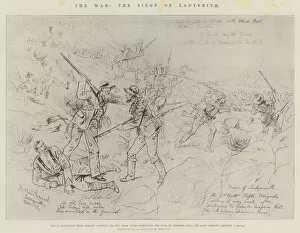
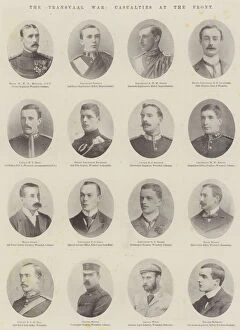
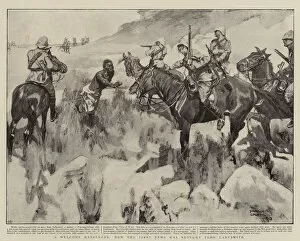
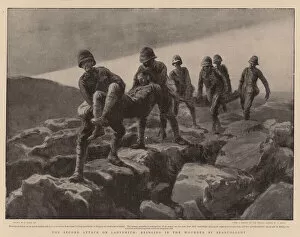
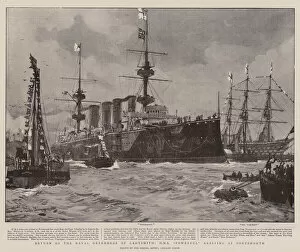
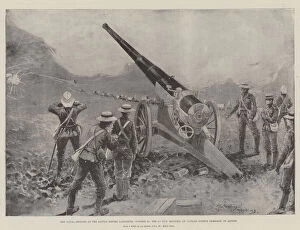
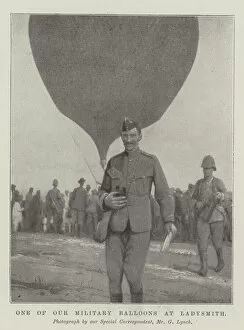
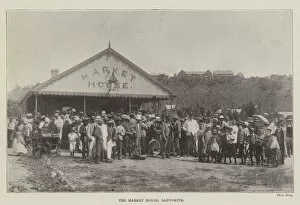
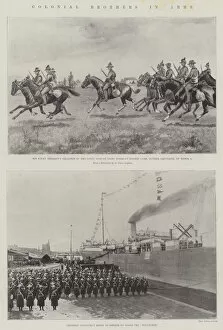
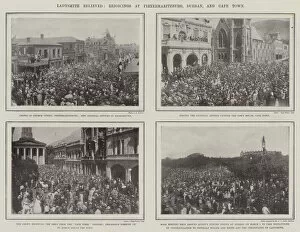
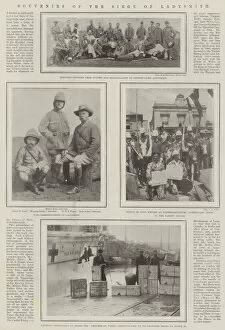
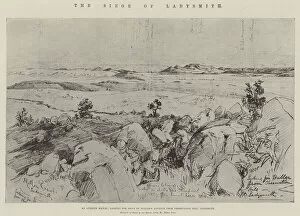
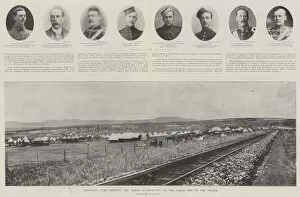
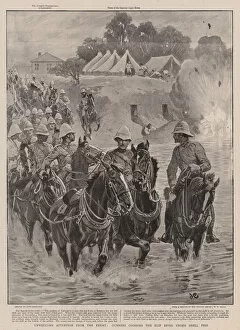
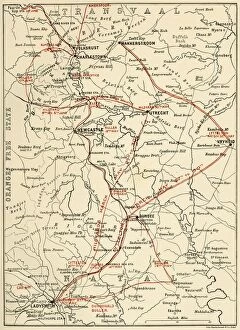
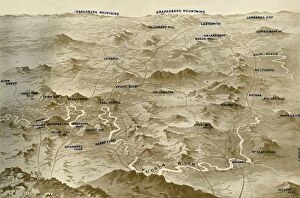
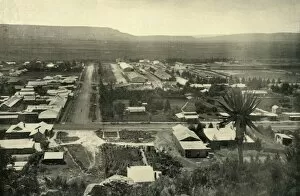
"Ladysmith: A Historic Town in South Africa's Natal Province" Nestled in the heart of Natal Province, a town steeped in history and rich with captivating landmarks. One such landmark is the Railway Station near Ladysmith, which served as a vital transportation hub during significant events that unfolded here. Wagon Hill cemetery stands as a solemn testament to the sacrifices made during times of conflict. It serves as a poignant reminder of the Siege of Ladysmith, where brave soldiers fought valiantly for their homeland. The Wagon Hill memorial pays tribute to these heroes, immortalizing their bravery and resilience. Kruger, Joubert, and Cronje are names synonymous with South African history. Their strategic prowess can be traced on an intriguing map displayed alongside their portraits – an homage to their role in shaping this region's destiny. Amidst turmoil and hardship, stories of hope emerged from Ladysmith. The Relief brought joy to its inhabitants who celebrated outside the Mansion House upon hearing this good news. Patriotism ran deep within them as they expressed it through sketches showcased along Strand Street. Even across oceans, Ladysmith left its mark on London when Naval Brigade HMS "Powerful" paraded through Horse Guards Parade with a 12-Pounder cannon from Ladysmith - passing even royalty itself - Princess of Wales. The Hospital Train leaving for Pietermaritzburg depicted unity amidst adversity; it symbolized compassion towards those wounded or ill during challenging times. Meanwhile, daring sorties were conducted using armored trains showcasing unwavering determination against all odds. Ladysmith holds tales that intertwine courage and sacrifice while highlighting humanity's resilience throughout history. As you explore this remarkable town today, let each monument stand as a reminder of our shared past and inspire us towards building a brighter future together.