
Louis Creswicke Collection (#2)
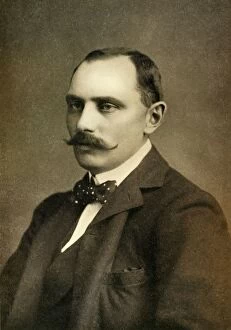
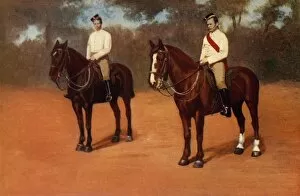
Louis Creswicke was a Household Cavalry-Captain in the 2nd Life Guards during the early 1900s


For sale as Licensed Images
Choose your image, Select your licence and Download the media
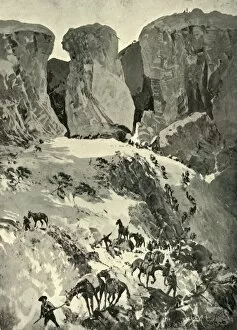
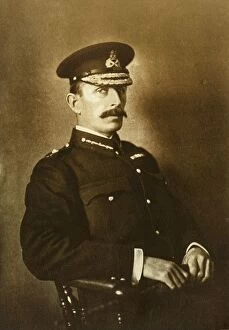
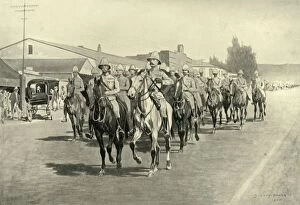
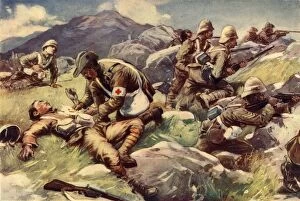
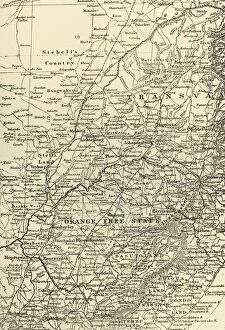
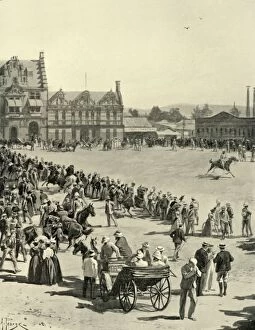
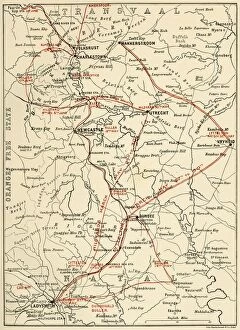
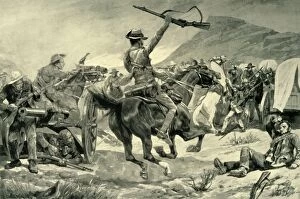
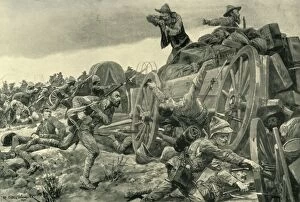
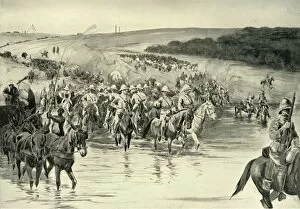
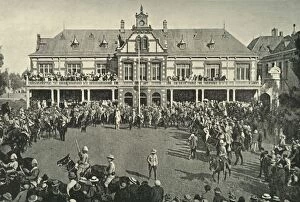
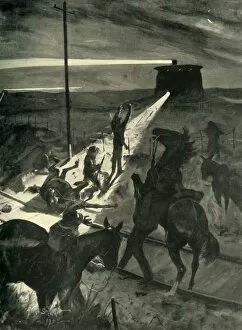
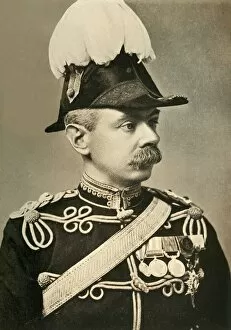
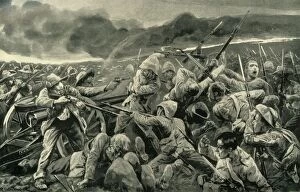
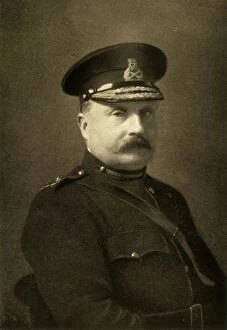
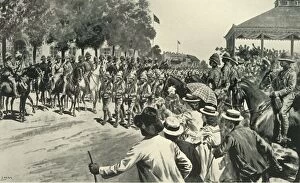
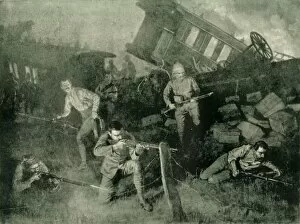
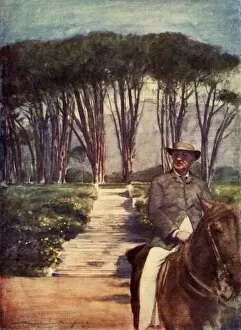
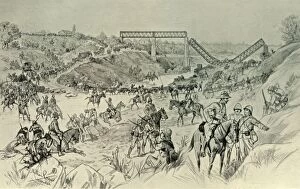
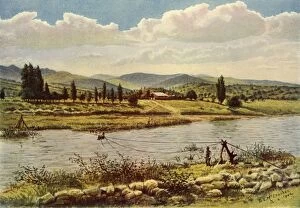
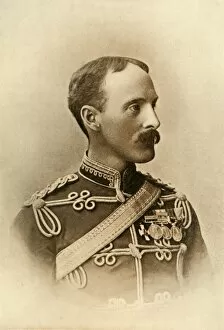
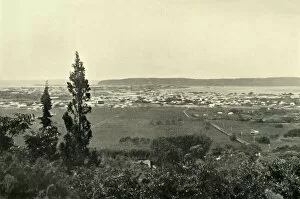
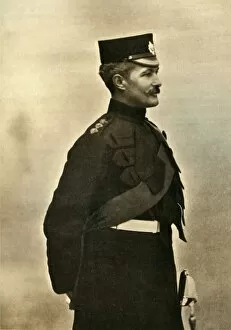
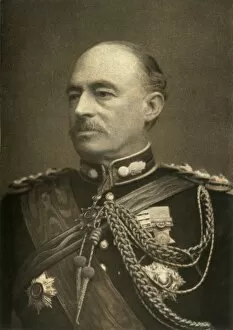
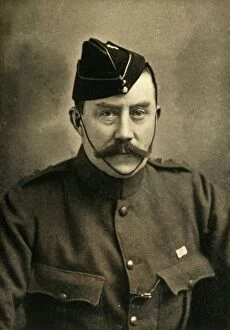
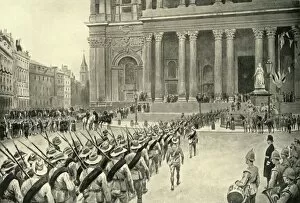
Louis Creswicke was a Household Cavalry-Captain in the 2nd Life Guards during the early 1900s. He witnessed and documented significant events during this time, capturing them in his General Map of British South Africa. One such event was the heroic sacrifice of Lieutenants Melvill and Coghill from the 24th Regiment, who died while trying to save the Queen's Colours. Creswicke also depicted The Cape Town Highlanders, showcasing their bravery and dedication to duty. Another remarkable moment he captured was Lord Methuen rallying his broken forces at Tweebosch in 1902, demonstrating leadership amidst adversity. The Night Charge of the 19th Hussars near Lydenberg on November 7th, 1900, is another scene immortalized by Creswicke. This intense battle showcases the courage and determination of these soldiers. In addition to documenting military actions, Creswicke also portrayed individuals like an Officer of the 16th Lancers with great attention to detail. He also depicted Major-General Hector A. Macdonald and General Sir Bindon Blood, both distinguished figures in British military history. Creswicke's work extended beyond battles; he captured moments like The Fight at Brakenlaagte where Boers charged fearlessly into combat against British forces. Delagoa Bay is another subject that caught his eye - a bustling port city filled with activity during this era. Lastly, Creswicke highlighted The Grenadier Guards through portraits of Colour-Sergeant & Sergeant-Major from this esteemed regiment. His depictions provide insight into their discipline and professionalism. Through his artistry and documentation skills, it has left behind a visual legacy that allows us to glimpse into an important period in history - one marked by heroism, sacrifice, camaraderie among soldiers on both sides of conflicts as well as the diverse landscapes and cities they encountered.