
Mosaic Collection (page 7)
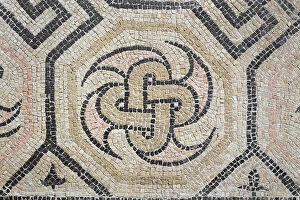
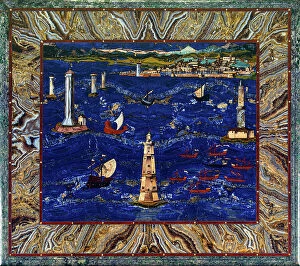
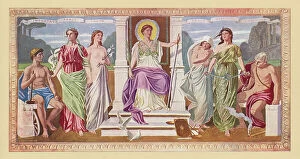
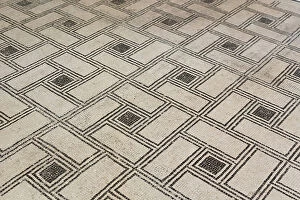
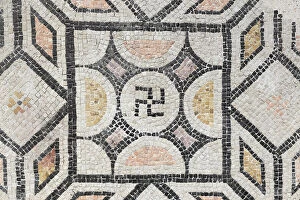
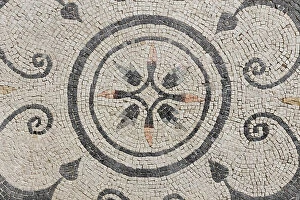
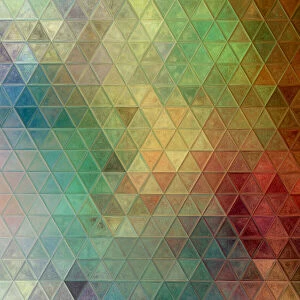
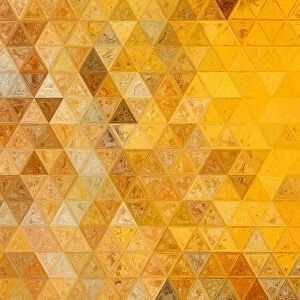
"Mosaic: A Tapestry of Art, History, and Remembrance" Discover the captivating world of mosaics as we delve into their rich history and diverse forms


For sale as Licensed Images
Choose your image, Select your licence and Download the media
"Mosaic: A Tapestry of Art, History, and Remembrance" Discover the captivating world of mosaics as we delve into their rich history and diverse forms. From the mesmerizing Fish Mosaic found in Pompeii to the Roman seafood mosaic depicting a culinary delight, these ancient artworks transport us back in time. One such masterpiece is the painting based on the Battle of Issus, where Alexander the Great's triumph comes alive through intricate mosaic patterns. Moving forward, we encounter the Strawberry Fields Memorial - an Imagine Mosaic nestled in Central Park, paying homage to legendary musician John Lennon. Its presence near his former residence at Dakota Building adds a poignant touch. Traveling back to ancient Rome, we witness another remarkable creation - a mosaic portraying the fierce Battle between Alexander and Darius from Pompeii's House of the Faun. The clash of empires immortalized in stone captivates our imagination. Venturing beyond Earth's boundaries, we gaze upon Hubble Space Telescope's image capturing Sombrero galaxy (M104). This cosmic marvel reminds us that even celestial bodies can be transformed into breathtaking mosaics. Closer to home lies Lyon's pilgrimage route to Santiago da Compostela adorned with a vibrant mosaic representing pilgrims' journey. Meanwhile, Barcelona enchants with its iconic Park Guell showcasing colorful tile mosaics amidst architectural wonders. In Turkey's Istanbul stands Hagia Sophia housing Deesis Mosaic - a 13th-century treasure embodying religious devotion and artistic brilliance. Nearby resides Aya Sofya boasting a Byzantine mosaic featuring Mary and Child; their divine grace radiating through centuries. Lastly, let us not forget an evocative Roman memento mori mosaic reminding us of life's fleeting nature – urging contemplation on mortality while appreciating each passing moment. From ancient tales etched in stone to contemporary tributes adorning parks worldwide – mosaics continue to weave together stories that transcend time and borders.