
Norman Collection (#11)
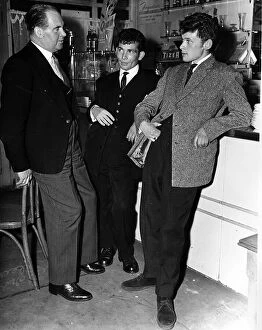
In the midst of the electrifying atmosphere at the 1968 Olympic Games in Mexico City, a powerful moment unfolded that would forever be etched in history


For sale as Licensed Images
Choose your image, Select your licence and Download the media
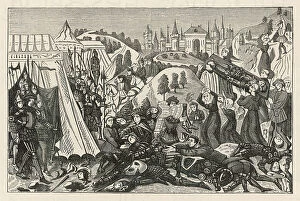
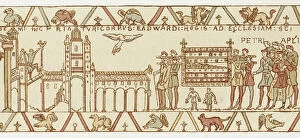
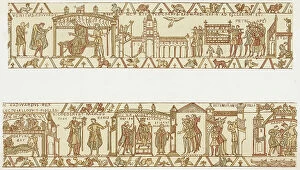
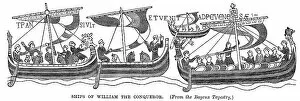
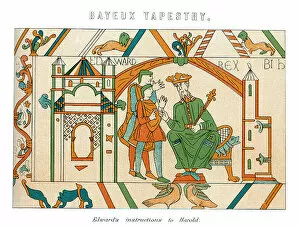
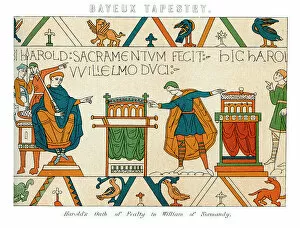
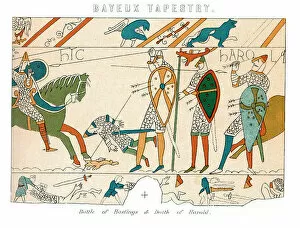
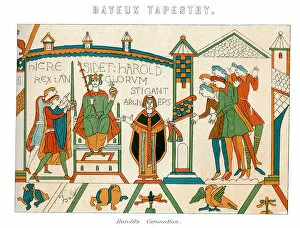
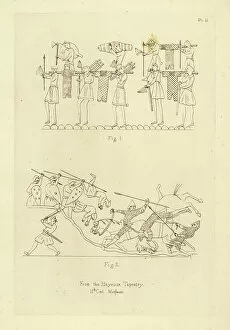
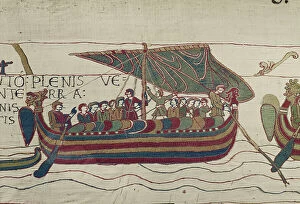
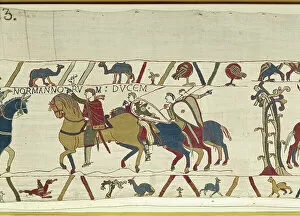
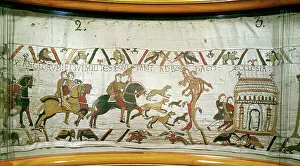
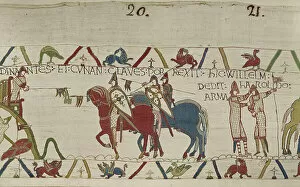
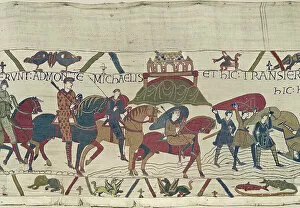
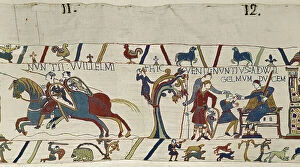
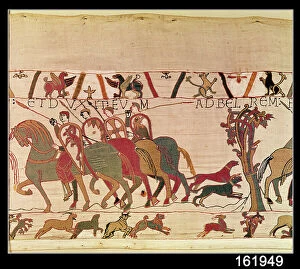
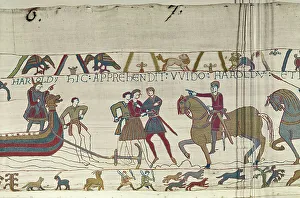
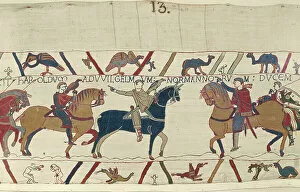
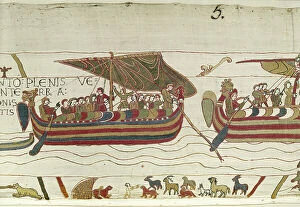
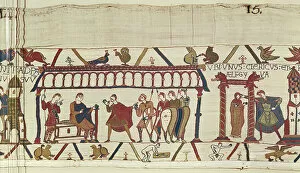
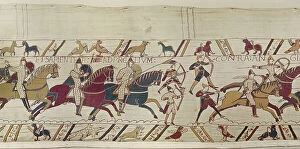
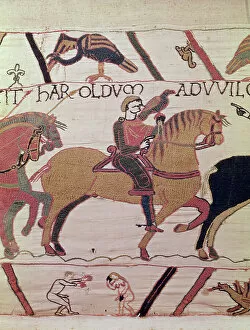
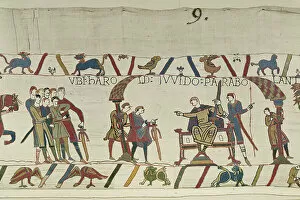
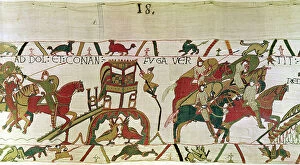
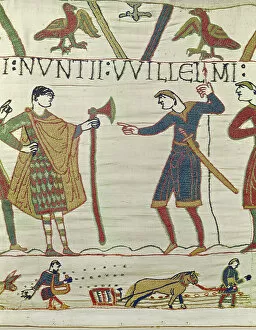
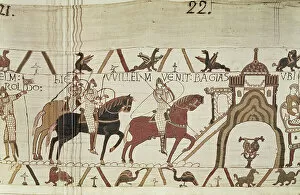
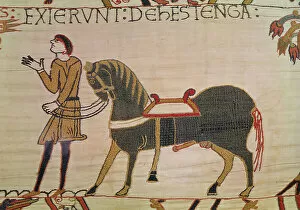
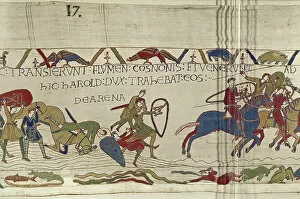
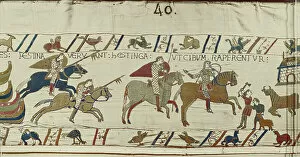
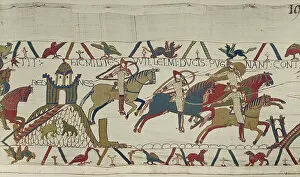
In the midst of the electrifying atmosphere at the 1968 Olympic Games in Mexico City, a powerful moment unfolded that would forever be etched in history. American runners Tommie Smith and John Carlos made a bold statement by raising their fists in the iconic Black Power salute during the medal ceremonies. However, it was Australian athlete Peter Norman who silently stood beside them, wearing an OPHR badge as a symbol of solidarity. Norman's presence in this pivotal moment showcased his unwavering support for equality and justice. Just like an exploding star illuminating the night sky, his actions shone brightly amidst adversity. This act of unity transcended borders and reminded us all that humanity knows no boundaries. Delving into history, we find another connection to Norman - the Bayeux Tapestry portraying the Norman Conquest. This historical event marked a turning point for England, much like how Norman's stance challenged societal norms on that fateful day at the Olympics. As we explore further, Durham Cathedral comes into view - a testament to enduring strength and resilience. Similarly, Norman displayed immense courage when he chose to align himself with Smith and Carlos' cause despite knowing it could have severe repercussions. Looking back even further to 1066, we see England depicted on a map before William Duke of Normandy embarked on his conquest. The Battle of Hastings ensued shortly after – yet another instance where "Norman" played a significant role in shaping history. Switching gears from sports to soccer brings us to England's victorious World Cup win in 1966 – an occasion celebrated nationwide. In this context too, one cannot help but draw parallels between moments of triumph such as these and Norman's brave stand against racial inequality. Venturing northwards towards Bamburgh Castle reveals both strength and serenity coexisting harmoniously – just like Peter Norman did when faced with adversity while upholding his beliefs. Finally arriving at Cardiff Castle showcases its Norman Keep, standing tall amidst a sea of daffodils.