
Paardeberg Collection
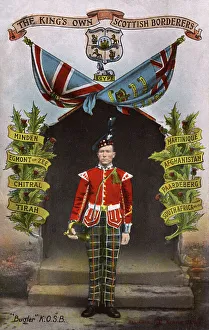
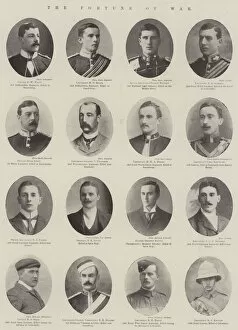
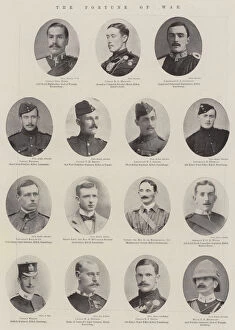
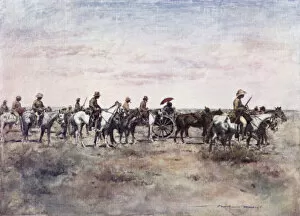
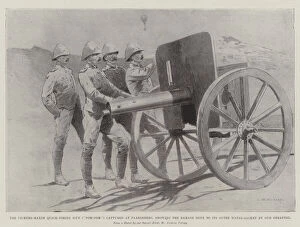
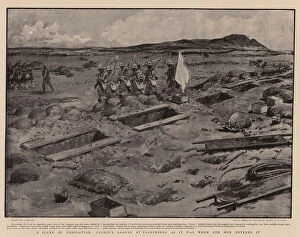
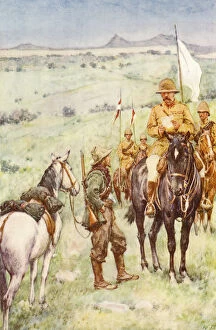
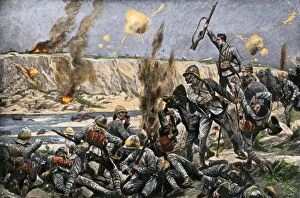
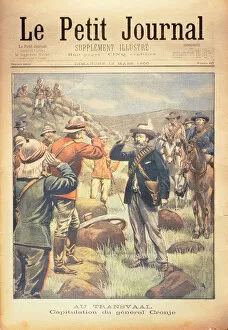
"Paardeberg: A Historic Battle and the Surrender of Cronje" In the year 1900, at Paardeberg, a significant chapter in history unfolded


For sale as Licensed Images
Choose your image, Select your licence and Download the media
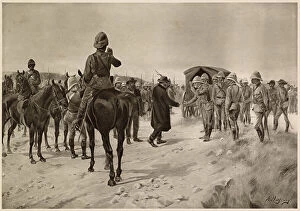
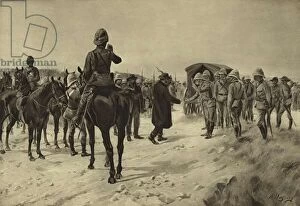
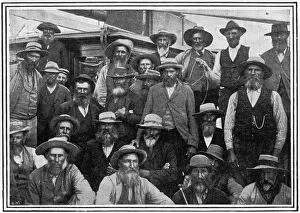
"Paardeberg: A Historic Battle and the Surrender of Cronje" In the year 1900, at Paardeberg, a significant chapter in history unfolded. The Kings Own Scottish Borderers stood tall as they faced the formidable Boer forces led by Piet Cronje. It was here that Cronje's resistance came to an end, marking a turning point in the South African War. The surrender at Paardeberg was captured through various mediums - lithographs, gravures, and black-and-white photographs - immortalizing this momentous event. One such lithograph depicted the marshalling of prisoners after their defeat, showcasing the magnitude of Cronje's capitulation. As we delve into these historical records, we witness scenes that evoke both awe and empathy. In one lithograph titled "Cronjes Stand at Paardeberg, " we see the remnants of a once impregnable Boer laager destroyed by Lyddite shells. Another chilling image portrays a desolate corner of this same laager within a riverbed – evidence of the harsh realities faced during war. However, it wasn't just destruction that defined Paardeberg; it also marked moments of reconciliation and commemoration. On Majuba Day – coinciding with Lord Roberts' victory over Cronje – another lithograph captures their meeting at Camp Paardeberg on Modder River. This poignant encounter symbolized closure for both sides on an anniversary steeped in significance. Campaigning scenes documented through black-and-white photography provide glimpses into life amidst conflict around Kimberley and Paardeberg. These images offer us insight into soldiers' resilience as they navigated treacherous terrains while upholding duty and honor. Paardeberg remains etched in history as a testament to human fortitude amid adversity—a battle where courage clashed with strategy resulting in decisive outcomes. Through these visual accounts from artists and photographers alike, we are transported back to those fateful days, allowing us to reflect on the sacrifices made and lessons learned.