
Ptolemaic Collection (#8)
"Ptolemaic: Unveiling the Celestial Mechanics and Medieval Artwork" Step back in time to explore the fascinating world cosmology


For sale as Licensed Images
Choose your image, Select your licence and Download the media
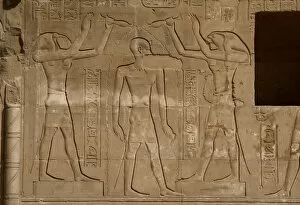
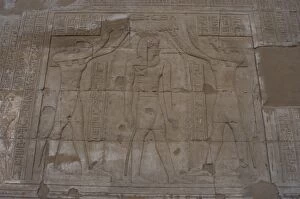
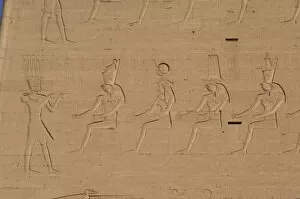
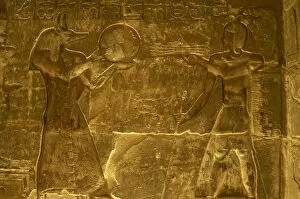
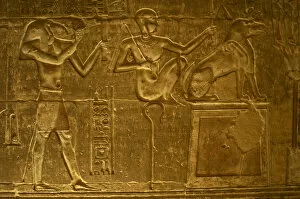
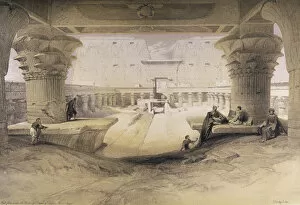
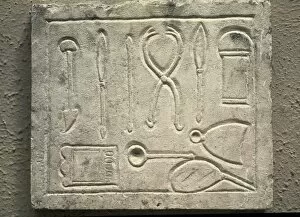
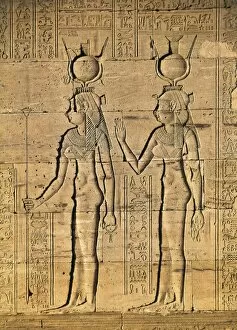
"Ptolemaic: Unveiling the Celestial Mechanics and Medieval Artwork" Step back in time to explore the fascinating world cosmology, where celestial mechanics and medieval artwork intertwine. Johannes Kepler's groundbreaking model of the universe, depicted in a line engraving from his Mysterium Cosmographicum (1596), captivates with its sun-centered design. Copernicus makes an appearance at lower right, while Ptolemy stands proudly at lower left in a copperplate engraving from Andreas Cellarius' Atlas Coelestis seu Harmonia Macrocosmica (1660). Delve into Apian's heart-shaped world map from 1530, adorned with small portraits of Amerigo Vespucci. Carel Allard's Southern Hemisphere map transports you to Amsterdam as you marvel at its intricate details. The Copernican Universe comes alive through another masterpiece by Andreas Cellarius, showcasing the sun reigning supreme at the center. Robert Fludd's diagram takes us on a journey connecting the hidden God with our manifest world—a fusion of philosophical and theosophical truths captured beautifully in woodcut form. Dutch engravings from the 17th century continue this exploration, placing our beloved sun once again as the centerpiece. Immerse yourself further into history as we encounter Ptolemy himself—an Alexandrian astronomer, mathematician, and geographer—in a colored line engraving dating back to 1584. Witness how he envisioned his own universe with Earth positioned firmly at its core through yet another enchanting engraving found within Cellarius' Atlas Coelestis seu Harmonia Macrocosmica (1660). And finally, let us not forget Cleopatra—the iconic queen whose flight and tragic demise have been immortalized through engraved artistry that vividly captures her story.