
Roman Empire Collection (#3)
"Exploring the Magnificence of the Roman Empire: From Ancient Athens to Gladiatorial Combat" Step into history with an antique map of the Roman Empire


For sale as Licensed Images
Choose your image, Select your licence and Download the media
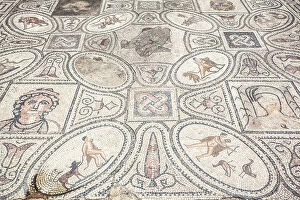
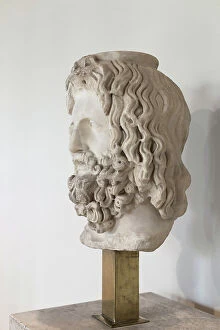
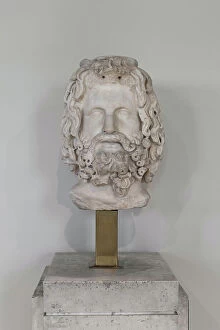
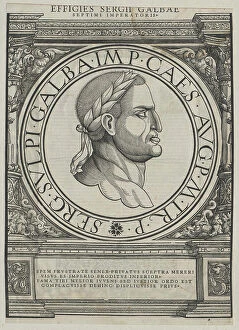
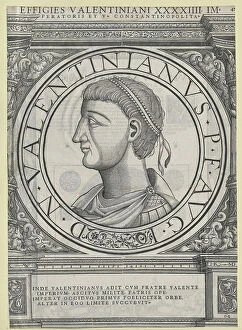
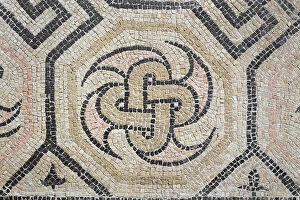
"Exploring the Magnificence of the Roman Empire: From Ancient Athens to Gladiatorial Combat" Step into history with an antique map of the Roman Empire, tracing its vast territories and influential reign. Witness the strategic Battle of Cannae in 216 BC, where Rome's military prowess was put to test. Marvel at the grandeur of Ancient Athens, a city that flourished under Roman rule. Delve deeper into Europe's landscape as it thrived under the dominion of this mighty empire through another detailed map. Behold Dionysus, or Bacchus, seated on his throne—a symbol of artistry and indulgence celebrated by Romans. Yet not all moments were triumphant; gaze upon "The Sack of Rome" in 410 AD by Visigoths—an event that marked a turning point in history. The haunting painting by Joseph-Noel Sylvestre captures both destruction and resilience. Discover daily life within these ancient walls through a fresco depicting a young woman gathering flowers—a glimpse into ordinary existence amidst extraordinary times. Join Thomas Couture's vivid depiction of a Roman feast on canvas—where opulence met revelry. Uncover one aspect synonymous with Rome—the gladiators who captivated audiences with their valorous combat—as depicted in an intricate mosaic. Lastly, witness Caesar leading his army across the Rubicon River—a decisive moment that forever changed Rome's political landscape. The Roman Empire remains an eternal testament to human ambition and achievement—its legacy etched in maps, artwork, and historical events that continue to inspire awe and fascination today.