
South Africa Collection (page 7)
South Africa, a land of diverse beauty and rich history, is located in the southernmost part of the African continent


For sale as Licensed Images
Choose your image, Select your licence and Download the media
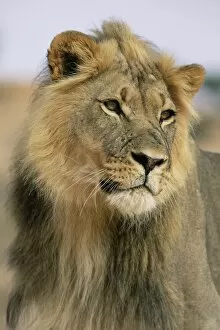
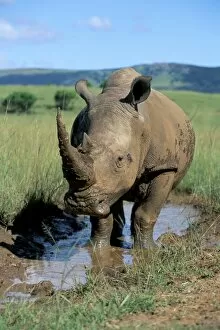
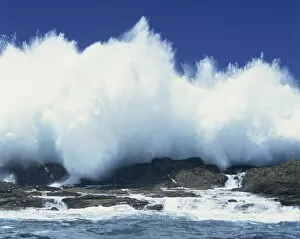
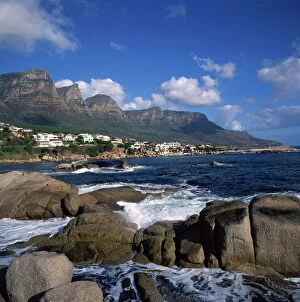
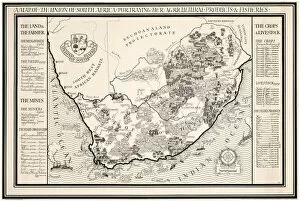
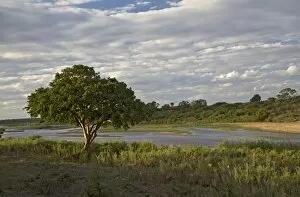
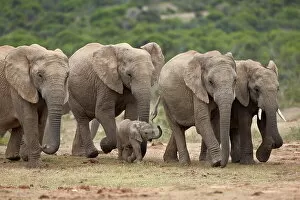
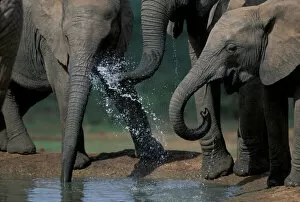
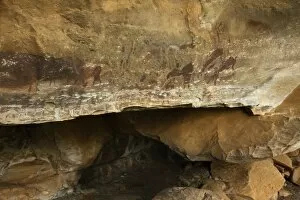
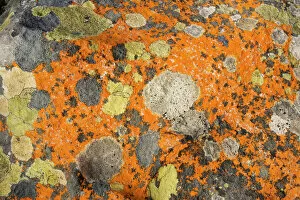
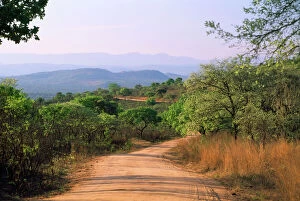
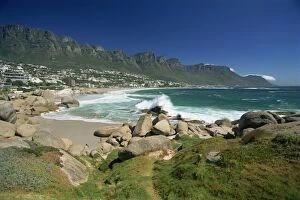
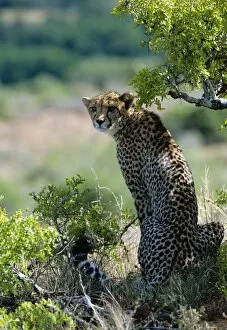
South Africa, a land of diverse beauty and rich history, is located in the southernmost part of the African continent. From the majestic Mount Kilimanjaro in Tanzania to its breathtaking African landscape adorned with zebras roaming freely, it offers an enchanting experience. Exploring this vast country reveals a political map that showcases its place within Africa's intricate tapestry. In particular, the Western Cape region boasts captivating sights like Cape Town and its iconic Table Mountain seen from above - a sight that leaves one in awe. One unforgettable moment etched in history is when South Africa's rugby captain Francois Pienaar received the World Cup trophy from none other than Nelson Mandela himself in 1995. This powerful image symbolizes unity and triumph over adversity. Nature enthusiasts will find solace amidst Addo Elephant National Park where two dung beetles tirelessly roll their precious dung ball across the African terrain. The park also provides stunning views of Table Mountain as seen from Bloubergstrand at sunset - a truly magical sight to behold. Delving into South Africa's past, we encounter a British Empire world map dating back to the 19th century. This historical artifact serves as a reminder of how far this nation has come since then. Kruger National Park presents another facet of South Africa's natural wonders with sightings of warthogs roaming freely amongst its abundant wildlife. The juxtaposition between these creatures and their surroundings creates an extraordinary visual spectacle. Cape Town continues to captivate visitors with its picturesque Camps Bay beach nestled against the backdrop of Twelve Apostles mountain range. Here, rocks delicately balance on driftwood while overlooking the vastness of the sea beyond - nature's artistry at its finest. Lastly, for those seeking some leisurely fun under the sun, beach volleyball games provide endless entertainment along South Africa's pristine shores. With each serve and spike comes laughter and camaraderie against an idyllic coastal backdrop.