
South African Republic Collection
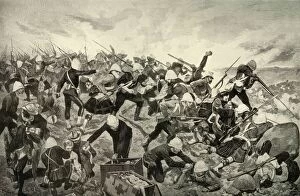
"The South African Republic: A Journey through History" The Battle of Majuba Hill


For sale as Licensed Images
Choose your image, Select your licence and Download the media
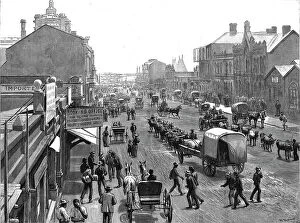
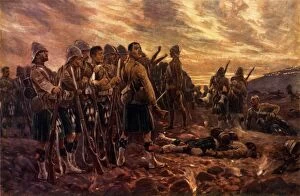
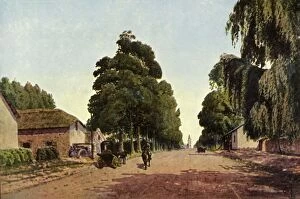
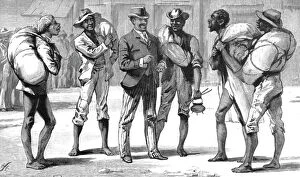
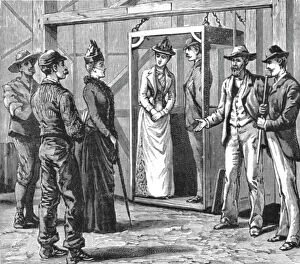
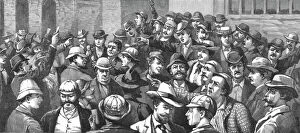
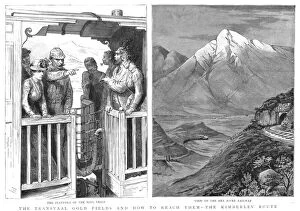
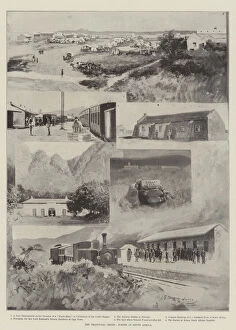
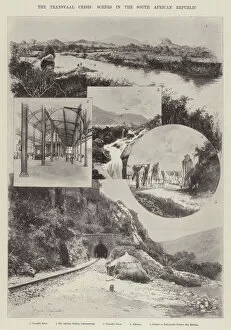
"The South African Republic: A Journey through History" The Battle of Majuba Hill, 1900: Witness the intense struggle for independence as Richard Caton Woodville II captures the pivotal moment in South Africa's fight against British rule. All That Was Left of Them. The Black Watch After the Battle of Magersfontein, 1900: Reflect on the devastating aftermath of war as this poignant image by an unknown artist immortalizes the sacrifices made by brave soldiers. Church Street, Pretoria - The Approach to the Town, 1901: Step into a bustling era with Donald E M Cracken's masterpiece that showcases Pretoria's charm and allure during a time of change and growth. On the way to the Transvaal Gold Fields; Springbok Flats, Zoutspansberg, 1890: Uncover tales of fortune and adventure as we journey through breathtaking landscapes towards South Africa's legendary gold fields. On the way to the Transvaal Gold Fields; The Bank of Africa, Johannesburg; as it was. . 1887, 1890: Marvel at Johannesburg's transformation from humble beginnings to a thriving metropolis with this captivating glimpse into its early banking institutions. The Transvaal Gold Fields and how to reach them--Civilised and Uncivilised--An Illicit. . 1890: Explore contrasting worlds within one nation as an anonymous artist sheds light on both civilized society and illicit activities amidst South Africa's gold rush frenzy. The Transvaal Gold Fields and how to reach them--Ladies visit to Jumpers Gold Mining. . 1890: Join courageous women who defied societal norms by venturing into male-dominated territories in pursuit of wealth in this empowering depiction captured by an unknown artist. The Transvaal Gold Fields and how to reach them--Scene in Open-Air Change, Johannesburg. . 1890.