
Tactics Collection (#2)
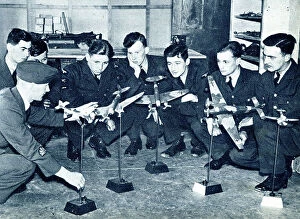
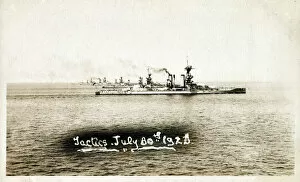
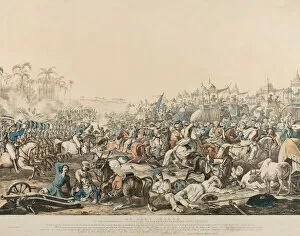
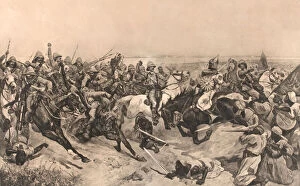
"Tactics: Mastering the Art of Strategy and Triumph" In the annals of history, they have played a pivotal role in shaping the outcome of battles and wars


For sale as Licensed Images
Choose your image, Select your licence and Download the media
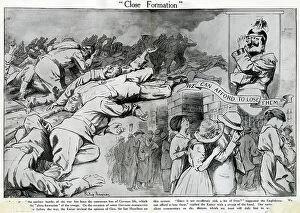
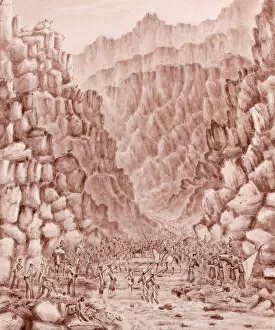
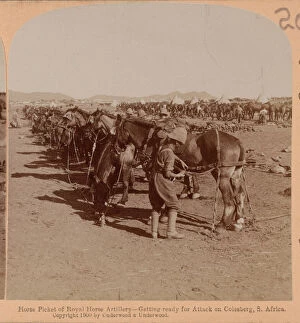
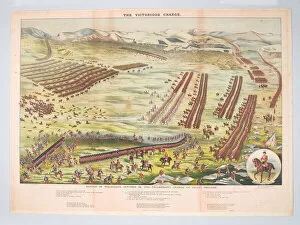
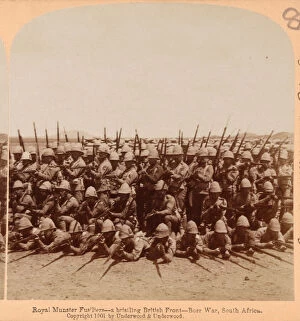
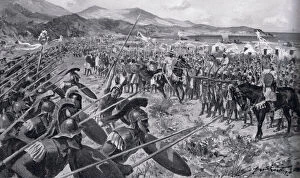
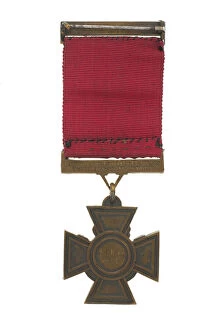
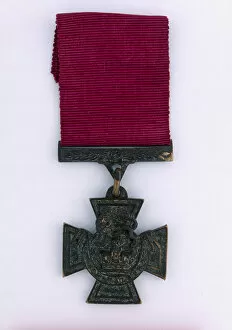
"Tactics: Mastering the Art of Strategy and Triumph" In the annals of history, they have played a pivotal role in shaping the outcome of battles and wars. From the Last Sleep of the Brave at Isandlwana during the Zulu War in 1879 to the valiant British Square formation at Pollilur, these moments exemplify strategic brilliance. During World War Two, recruitment posters urged men to join their ranks, showcasing not only bravery but also tactical prowess. The poster's message was clear - victory depended on skilled minds and calculated moves. Sometimes, however they can be deceptive. Like a puzzle that seems "Too Fishy, " they require careful analysis to unravel their true intentions. This was evident in iconic charges such as Scarletts 300 or Heavy Brigade at Balaclava in October 1854. The Charge of the 16th (Queens Own) Lancers at Aliwal Battle in 1846 showcased how precise maneuvers could turn tides even against formidable opponents. Such displays demonstrated that success often lay within well-executed plans. Throughout history, various mediums have captured these tactical triumphs. Engravings like "The Taking of Guns" from 1914 depicted soldiers' relentless efforts to seize crucial artillery positions amidst chaos and danger. Aircraft formations like Bucker Bu 133 Jungmeister's tight seven-plane display highlighted aerial coordination as an essential element for victory above enemy lines. Similarly, G. H Davis' portrayal of a German U-boat reminded us that naval warfare required cunning strategies beneath treacherous waters. They were not limited to combat alone; they extended into unconventional realms too. Heath Robinson's imaginative artwork portrayed daring attempts like "Teasing Tirpitz" or luring U-boats towards Dover - illustrating how creativity could become a weapon itself. Lastly, bringing up guns exemplified logistical expertise critical for military operations throughout history.