
Tasmanian Collection (page 2)
Discover the enigmatic beauty of Tasmania, where ancient legends and breathtaking landscapes intertwine


For sale as Licensed Images
Choose your image, Select your licence and Download the media
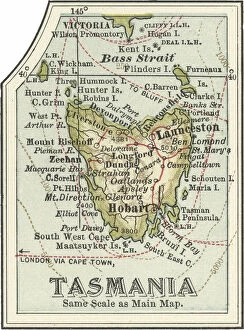
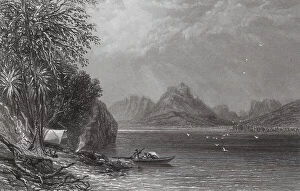
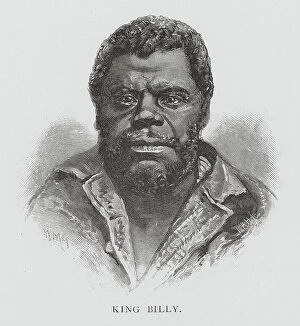
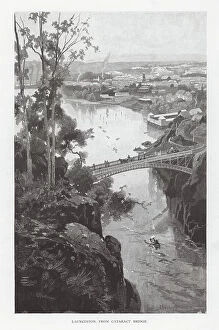
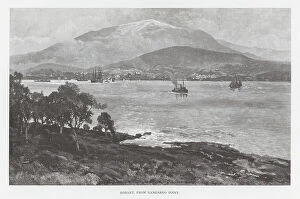
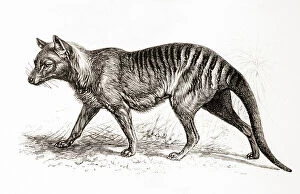
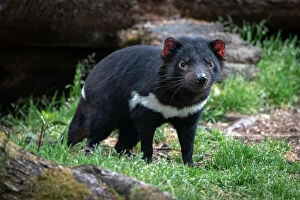
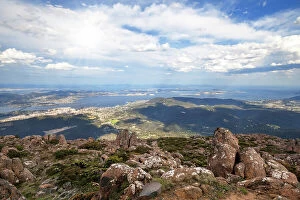
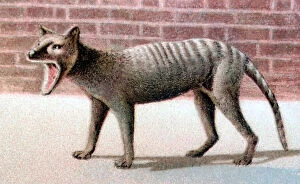
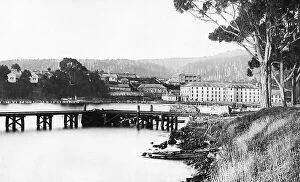
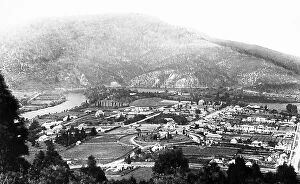
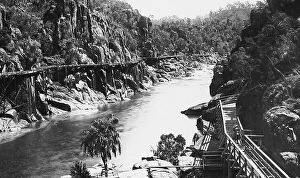
Discover the enigmatic beauty of Tasmania, where ancient legends and breathtaking landscapes intertwine. Known as the home of the Tasmanian Tiger or Thylacine, this mystical island holds secrets that captivate the imagination. Once roaming freely in its wilderness, the Thylacine now remains only in memories and faded photographs. In Hobart, immerse yourself in the ethereal atmosphere of Dark Mofo Winter Solstice Swim. As brave souls plunge into icy waters, they pay homage to a land steeped in folklore and mystery. The city's iconic Tasman Bridge stands tall over River Derwent, connecting past and present with its majestic presence. Venture further to Cradle Mountain-Lake St. Clair National Park, where nature unveils its grandeur at every turn. From the tranquil Dove Lake nestled beneath Cradle Mountain's towering peaks to Twisted Lakes' otherworldly allure and Little Horn's rugged charm - each corner whispers tales of an untamed wilderness. Step back in time at Mount Field National Park's Horseshoe Falls, a UNESCO World Heritage Site adorned with cascading waters amidst lush greenery. Here lies a testament to Tasmania's rich natural heritage that deserves our utmost respect and preservation. As we explore this land of wonders, let us not forget Truganini - the last surviving female Tasmanian aborigine whose spirit lingers amongst these lands. Her story serves as a reminder of Tasmania's complex history and cultural significance. Finally, surrender to serenity on St Helens Conservation Area's pristine beaches along Australia's Pacific coast. Let your worries wash away with each crashing wave as you bask in Tasmania’s untouched splendor. Tasmania beckons adventurers seeking solace within nature’s embrace; it is a place where legends are born from misty mountainsides and forgotten creatures roam through dreamscape valleys. Come lose yourself among sandy bays, hidden lakeshores, and untamed wilderness - for Tasmania holds a magic that will forever enchant the soul.