
Tc And Ec Collection (#3)
"Exploring Time and Culture through Art: A Glimpse into the Past" Step back in time with a journey through captivating artworks that depict various aspects of history


For sale as Licensed Images
Choose your image, Select your licence and Download the media
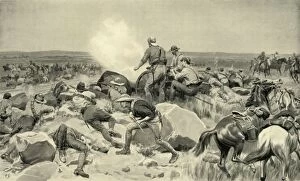
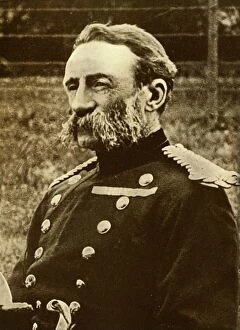
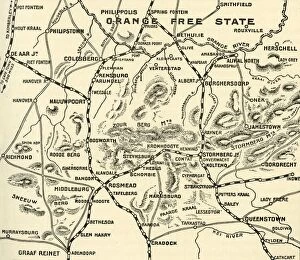
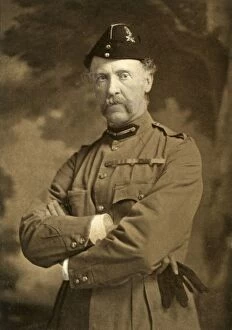
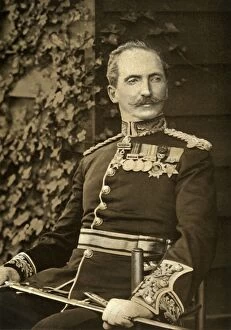
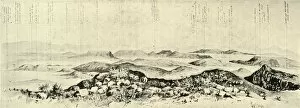
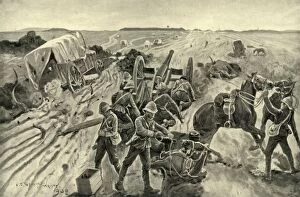
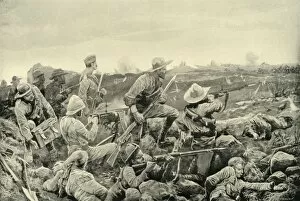
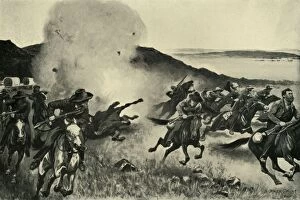
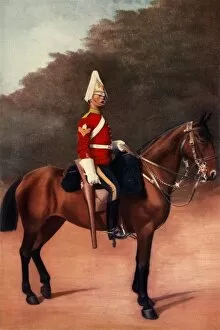
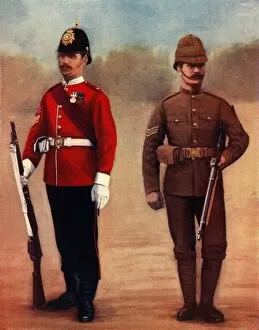
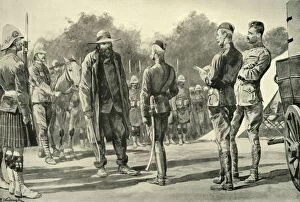
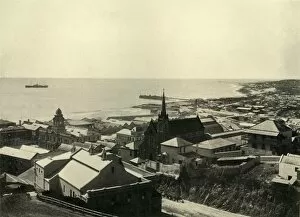
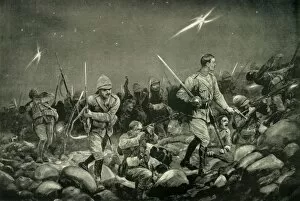
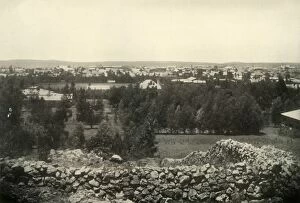
"Exploring Time and Culture through Art: A Glimpse into the Past" Step back in time with a journey through captivating artworks that depict various aspects of history, culture, and society. From ancient maps to heroic battles, from renowned musicians to brave soldiers, these pieces offer a window into the rich tapestry of human existence. The Hereford Mappa Mundi (c1285) by Richard de Bello takes us on an intricate cartographic adventure, showcasing medieval knowledge and beliefs. Meanwhile, Miss Jane Bowles (1775) by Sir Joshua Reynolds captures the elegance and grace of an 18th-century lady. Et in Arcadia ego (Les bergers d'Arcadie or The Arcadian Shepherds) (1637-1638) by Nicolas Poussin invites us to contemplate mortality amidst idyllic landscapes. Paolo Uccello's The Battle of San Romano (c1438) immerses us in the chaos and valor of historical warfare. General Map of British South Africa (1900), artist unknown, provides insight into colonial expansion while Ptolemy's Map of the World cA. D 150 (1912), created by Claudius Ptolemy himself centuries ago, showcases early geographical understanding. Great Musicians - Plate X (c1880) by F Jenkins Heliog celebrates musical genius throughout history. Household Cavalry-Captain, 2nd Life Guards (1900), captured by Gregory & Co. , exemplifies military splendor. Lieutenants Melvill and Coghill Dying to Save the Queen's Colours (1900), portrays selfless sacrifice during battle. JE Bruton's depiction of The Cape Town Highlanders (1900) honors bravery within a specific regiment. The Night Charge of the 19th Hussars Near Lydenberg on Nov. 7th 1900 (1901) captures the intensity of a cavalry charge.