
Transvaal Collection (#6)
"Transvaal: A Tapestry of History and Conflict" Step into the intricate world of Transvaal, a region that witnessed both triumphs and turmoil throughout its rich history


For sale as Licensed Images
Choose your image, Select your licence and Download the media
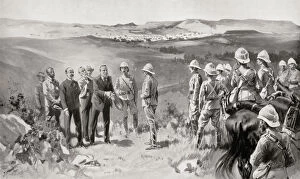
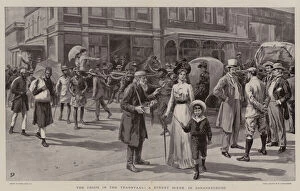
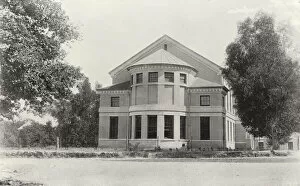
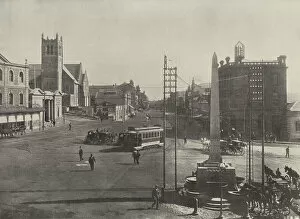
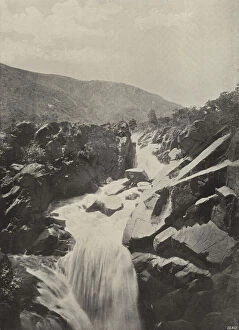
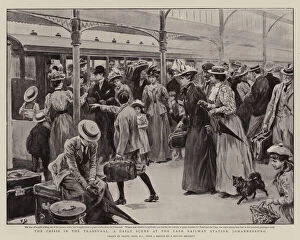
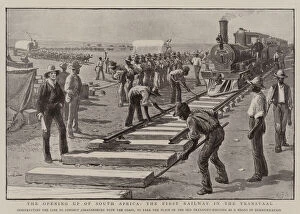
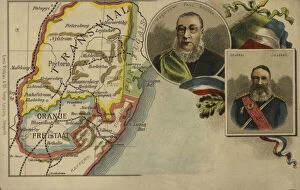
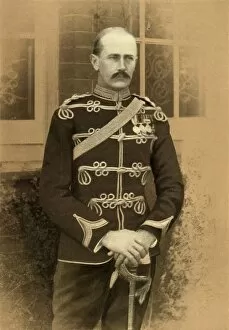
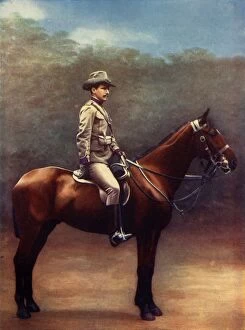
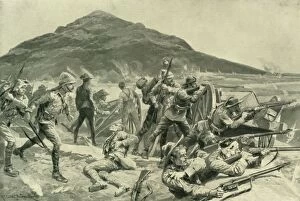
"Transvaal: A Tapestry of History and Conflict" Step into the intricate world of Transvaal, a region that witnessed both triumphs and turmoil throughout its rich history. From the depths of Egyptian waters to the decks of luxurious cruise ships, Transvaal's story unfolds. In 1882, an American cartoon depicted John Bull as an octopus of imperialism, symbolizing England's relentless land grabbing across continents. The Devilfish in Egyptian Waters serves as a reminder of the power struggles that shaped Transvaal. Amidst this backdrop, the poster advertising the Transvaal Castle cruise ship emerges as a beacon of luxury and adventure. Passengers embarked on unforgettable journeys, exploring distant lands while indulging in opulence. A young Winston Churchill graces our narrative with his presence. His early years spent in Transvaal would later shape his political career and influence British policies during times of conflict. The Household Cavalry-Captain from 1900 showcases bravery amidst chaos. These valiant soldiers stood tall against adversity, defending their homeland with unwavering loyalty. The discovery of Mrs. Ples skull unveils ancient mysteries hidden within Transvaal's rugged landscapes. This archaeological marvel sheds light on our shared human origins and connects us to our past. RMS Transvaal Castle by G. H. Davis stands proudly as a testament to engineering prowess and maritime grandeur—an embodiment of progress amidst changing times. Paul Kruger, State President portrayed as an ogre reveals opposing perspectives on leadership during turbulent periods—a reminder that history is often painted through multiple lenses. The Cape Town Highlanders from 1900 exemplify unity and resilience in times when division threatened harmony. Their unwavering spirit echoes through generations, inspiring future warriors for justice. Lord Methuen Rallying His Broken Forces at Tweebosch captures a pivotal moment where determination triumphed over defeat—a testament to human resilience and the indomitable spirit of Transvaal.