
Vatican Museum Collection (#10)
Discover the captivating wonders of the Vatican Museum, a treasure trove of art and history in Rome, Italy


For sale as Licensed Images
Choose your image, Select your licence and Download the media
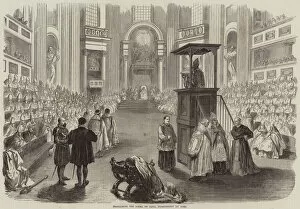
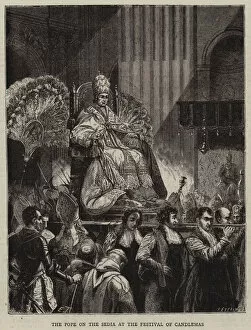
Discover the captivating wonders of the Vatican Museum, a treasure trove of art and history in Rome, Italy. Step into ancient times as you gaze upon the majestic Augustus Prima Porta statue, a symbol of power and leadership. Marvel at the awe-inspiring Sistine Chapel by Michelangelo, where his masterful frescoes depict scenes from Genesis with unparalleled beauty. Immerse yourself in divine beauty as you encounter God, Jesus, and Mary within the hallowed halls of the Vatican Museum. Explore Raphaels Rooms and be captivated by his masterpiece "Disputation of the Holy Sacrament, " an intricate portrayal of theological debate. Delve into Roman history with a glimpse at Julius Caesar's bust and journey through time with a 16th-century map showcasing Venice's grandeur. Admire the Discus thrower statue that embodies strength and grace. Ascend to new heights on the mesmerizing spiral staircase that leads you deeper into this artistic haven. Pause for reflection on the steps adorned with centuries-old stories etched into their very essence. Witness Pope Pius X immortalized in a vibrant portrait celebrating his priestly jubilee—a testament to faith and devotion. Stand witness to The Battle of Milvian Bridge depicted by Raphael in all its glory within the Hall of Constantine. Finally, take in breathtaking views from St. Peter's Basilica dome as it overlooks The Vatican Museum—a sight that encapsulates both majesty and serenity simultaneously. The Vatican Museum beckons travelers from around the world to experience its rich tapestry woven together by masterpieces spanning centuries—truly an extraordinary journey through art, culture, and spirituality like no other.