
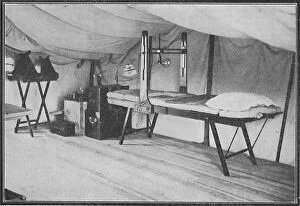
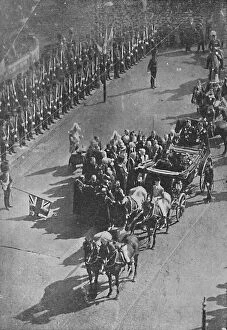
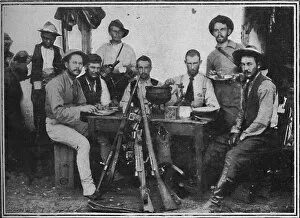
Boer Wars Collection (#8)
The Boer Wars, a tumultuous chapter in history, witnessed the clash between the British Empire and the resilient Boer republics of South Africa


For sale as Licensed Images
Choose your image, Select your licence and Download the media
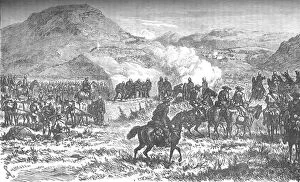
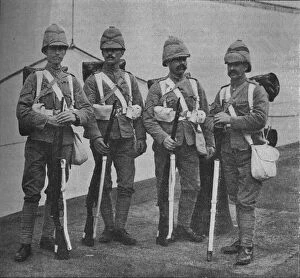
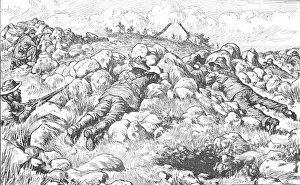
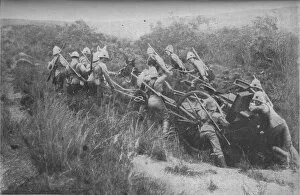
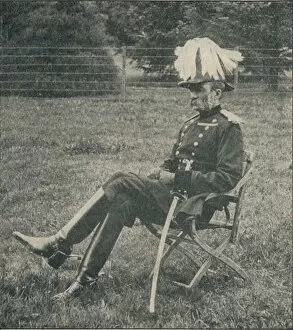
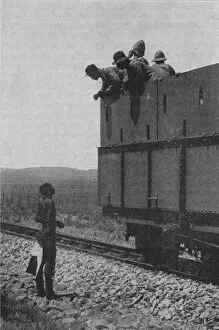
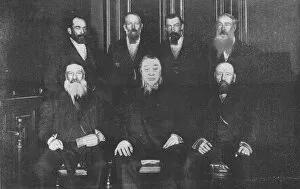
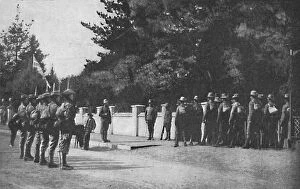
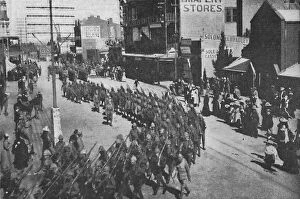
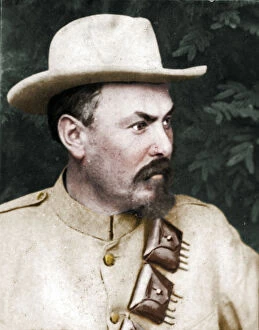
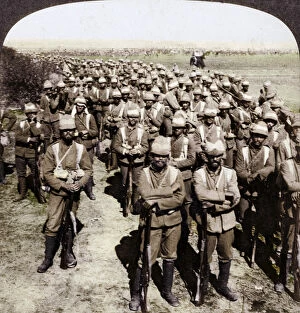
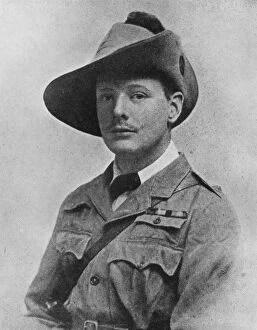
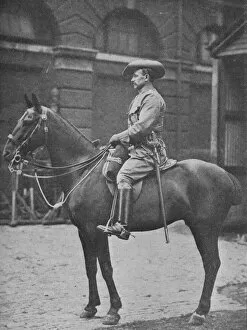
The Boer Wars, a tumultuous chapter in history, witnessed the clash between the British Empire and the resilient Boer republics of South Africa. In this captivating collection of images, we catch glimpses of bravery, desperation, and rallying spirits. Amidst the chaos, we find ourselves in awe as we witness a Household Cavalry-Captain from the 2nd Life Guards during 1900. His unwavering determination is evident as he stands tall amidst uncertainty – a symbol of British resilience. Next, our attention shifts to The Cape Town Highlanders in 1900. Created by JE Bruton, this image captures their stoic expressions and proud stance that epitomize their unwavering loyalty towards their cause. Lord Methuen emerges as an inspiring figure in another photograph taken by Charles Mills Sheldon during his attempt to rally broken forces at Tweebosch in 1902. Despite adversity surrounding him, Lord Methuen's leadership shines through as he motivates his troops to persevere. A moment frozen in time takes us back to November 7th, 1900 – The Night Charge of the 19th Hussars near Lydenberg. This breathtaking creation encapsulates both fear and courage as these brave soldiers charge forward under cover of darkness. Major-General Hector A. Macdonald becomes an emblematic figure captured by Heath's lens in 1900. With his distinguished presence and decorated uniform adorned with medals denoting valorous acts on previous battlefields – he embodies honor and duty. General Sir Bindon Blood steps into focus next; his commanding aura resonating through Donald McCracken's portrait from 1902. A strategic mastermind leading troops into battle against formidable opponents - General Blood leaves an indelible mark on history. John Charlton brings forth a vivid depiction of The Fight at Brakenlaagte: Boers Charging (1902).