
Norman Conquest Collection (page 4)
"The Norman Conquest: A Tapestry of Power and Change" Step back in time to the year 1066, a pivotal moment in history when the course of England was forever altered


For sale as Licensed Images
Choose your image, Select your licence and Download the media
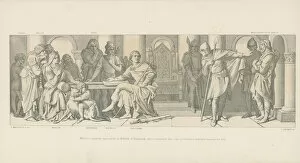
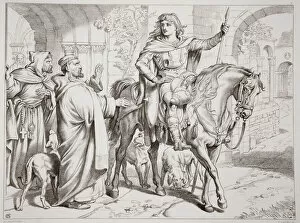
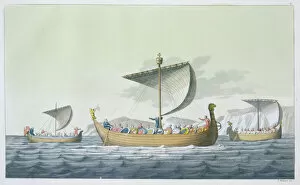
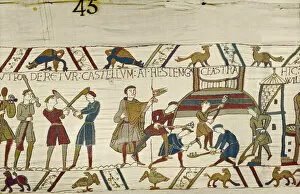
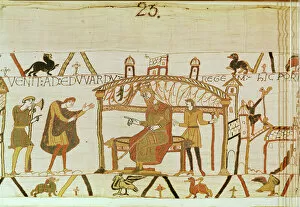
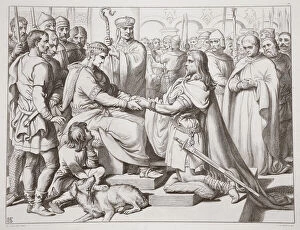
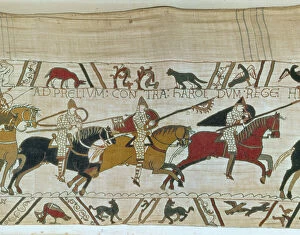
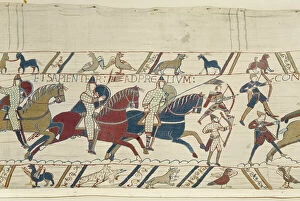
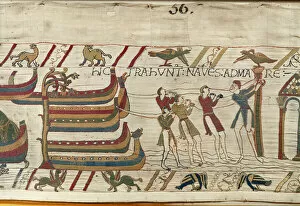
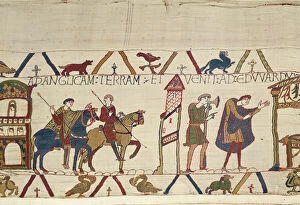
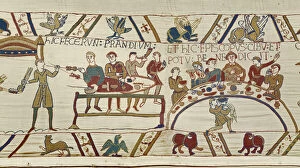
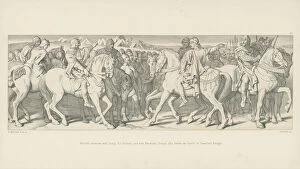
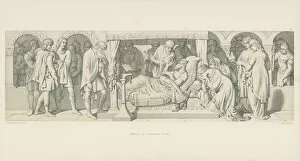
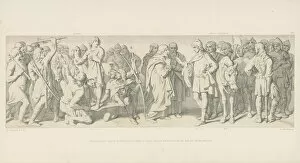
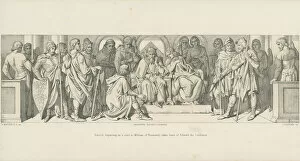
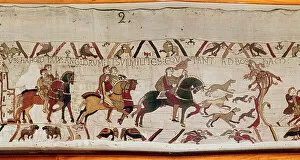
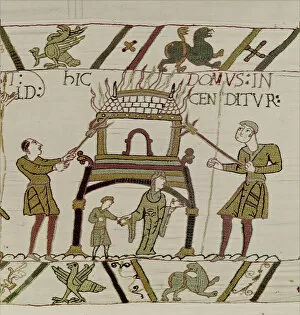
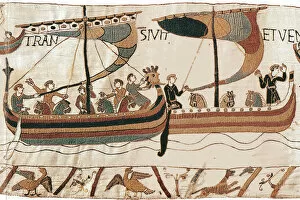
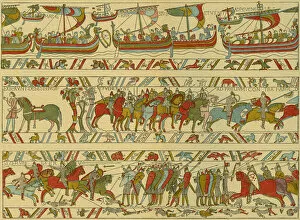
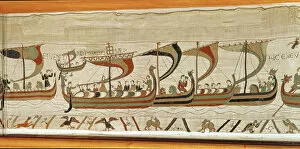
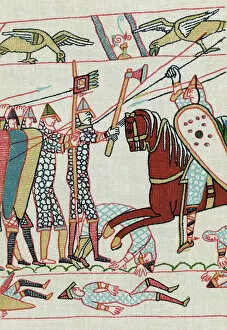
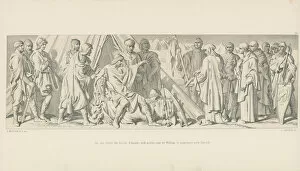
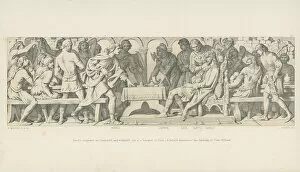
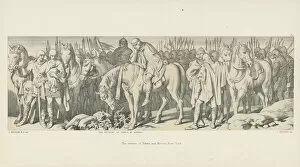
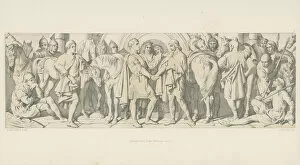
"The Norman Conquest: A Tapestry of Power and Change" Step back in time to the year 1066, a pivotal moment in history when the course of England was forever altered. The Bayeux Tapestry, a remarkable work of art that vividly portrays the events surrounding the Norman Conquest, serves as our window into this transformative period. As we examine the intricate threads woven into this tapestry, we are transported to Normandy, France, where William the Conqueror meticulously planned his invasion. With a map of England before us, we trace his path across the English Channel towards victory. The Bayeux Tapestry itself stands as an enduring testament to this conquest. Its delicate stitches depict scenes from battlefields and royal courts alike - King William's seal capturing his regal presence while Harold II's portrait reveals him as the last Anglo-Saxon king. One cannot help but be captivated by moments frozen in time on this ancient fabric. The death of Harold at Hastings is etched with haunting detail; an unknown artist masterfully captures both triumph and tragedy within brushstrokes. And then there is that poignant scene where Harold's lifeless body is brought before William - a powerful reminder of how power can shift so dramatically. Amidst these depictions emerge glimpses into medieval life - chain mail armor worn by Anglo-Saxon kings reminding us of their valorous struggles against foreign invaders. We see William himself depicted on horseback in full regalia, commanding respect and loyalty from those who swore allegiance to him. But perhaps one image encapsulates it all: Harold swearing his oath to William. In that single frame lies not only a pledge between two men but also an entire nation hanging precariously in balance. The Norman Conquest forever changed England's destiny - its impact reverberating through centuries even today. It reshaped politics, language, culture – leaving an indelible mark upon history.