
Tc And Ec Jack Collection (#7)
"TC and EC Jack: Exploring Art, History, and Heroism" Step into a world of captivating artistry and historical significance with TC and EC Jack


For sale as Licensed Images
Choose your image, Select your licence and Download the media
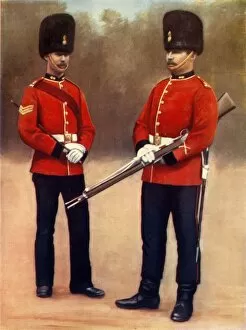
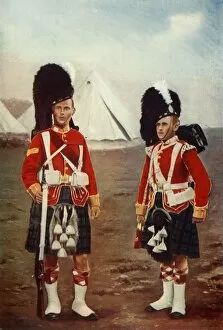
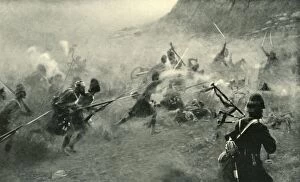
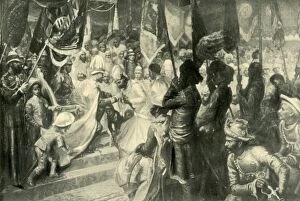
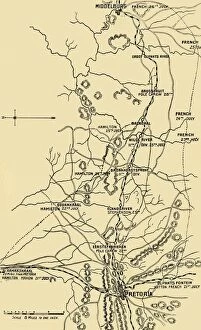
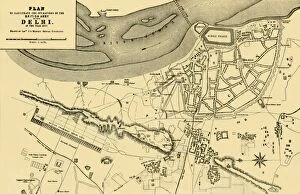
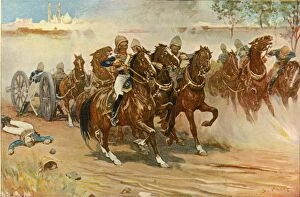
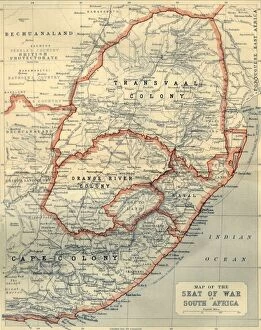
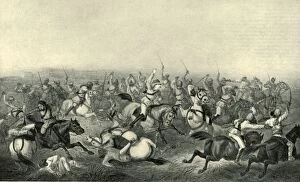
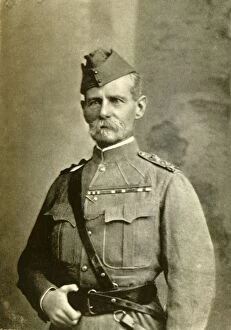
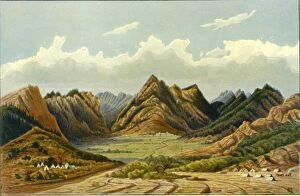
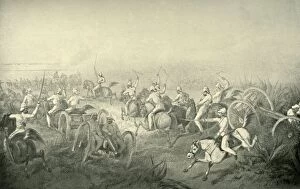
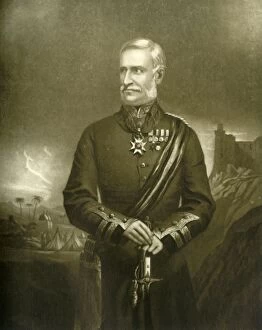
"TC and EC Jack: Exploring Art, History, and Heroism" Step into a world of captivating artistry and historical significance with TC and EC Jack. From the intricate details of The Hereford Mappa Mundi to the timeless elegance of Miss Jane Bowles, this collection transports you through time. Immerse yourself in the enigmatic beauty of Et in Arcadia ego by Nicolas Poussin or witness the fierce intensity of The Battle of San Romano by Paolo Uccello. These masterpieces evoke emotions that transcend centuries. Travel across continents with General Map of British South Africa, unraveling the mysteries it holds. Marvel at Ptolemy's Map of the World, an ancient treasure brought to life by Claudius Ptolemy's artistic vision. Delve into the realm of music as Great Musicians - Plate X takes center stage. F Jenkins Heliog captures their essence, allowing us to appreciate their melodic genius. Experience bravery personified in Household Cavalry-Captain from 2nd Life Guards or Lieutenant Melvill and Coghill sacrificing themselves for Queen and country. Their heroism echoes through time. Celebrate tradition with The Cape Town Highlanders proudly displayed in all their glory by JE Bruton. Feel the adrenaline rush as The Night Charge of the 19th Hussars charges towards victory near Lydenberg on Nov. 7th, 1900. Lastly, admire Officer of the 16th Lancers' regal demeanor captured flawlessly by Gregory & Co. , embodying honor and valor within every stroke. Join TC and EC Jack on a journey where art intertwines with history, where heroes are immortalized on canvas forevermore.